Leaderboard


Popular Content
Showing content with the highest reputation on 10/05/20 in all areas
-
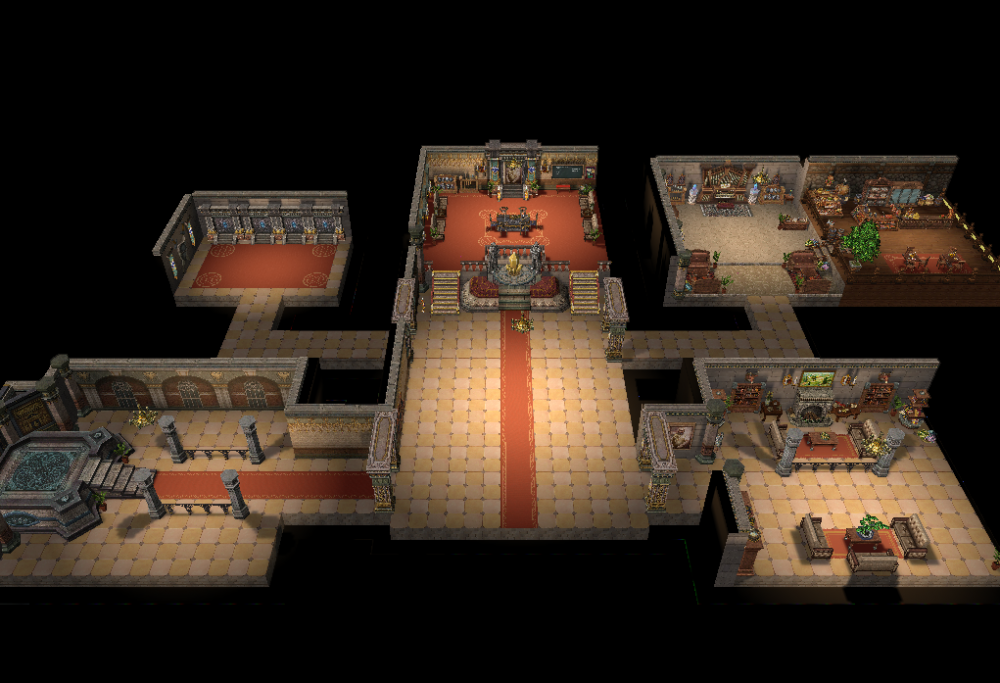
Good Day Rathena people! Here is a guild hall from ROM! the textures are original from ROM Textures. Enjoy~

 1 point
 -
Hello and welcome to the continued English translation project, started by @zackdreaver. Many may know already that zackdreaver stopped with his project and that I continued with it since then. See here. First of all thanks to zackdreaver for his time and passion, which he contributed so far with his project. But since there was no one else who had a project like his or someone who took his/her time to do all this work, I thought I could take over and learned the way to do it. The result can be found at this link: https://github.com/llchrisll/ROenglishRE I made a lot of progress so far regarding translations, skill rebalances and 2020 client support. Lately I also added the required files for pre-renewal, which still follows the same format as zackdreaver's ROEnglishPRE repo, by overwriting the renewal project files with the pre-renewal files. I also have an discord server setup for faster support, issue reporting and more. Link can be found at the repo above. The difference between these two projects is also how it is installed, but to make things easier I setup a documentation site: https://llchrisll.github.io/ROTPDocs/ The actual guide can be found here: https://llchrisll.github.io/ROTPDocs/guides/install/ If you experience any trouble using this project, please use the discord server because I rarely visit the rAthena forum. Best regards, llchrisll aka Houndeye1 point
-
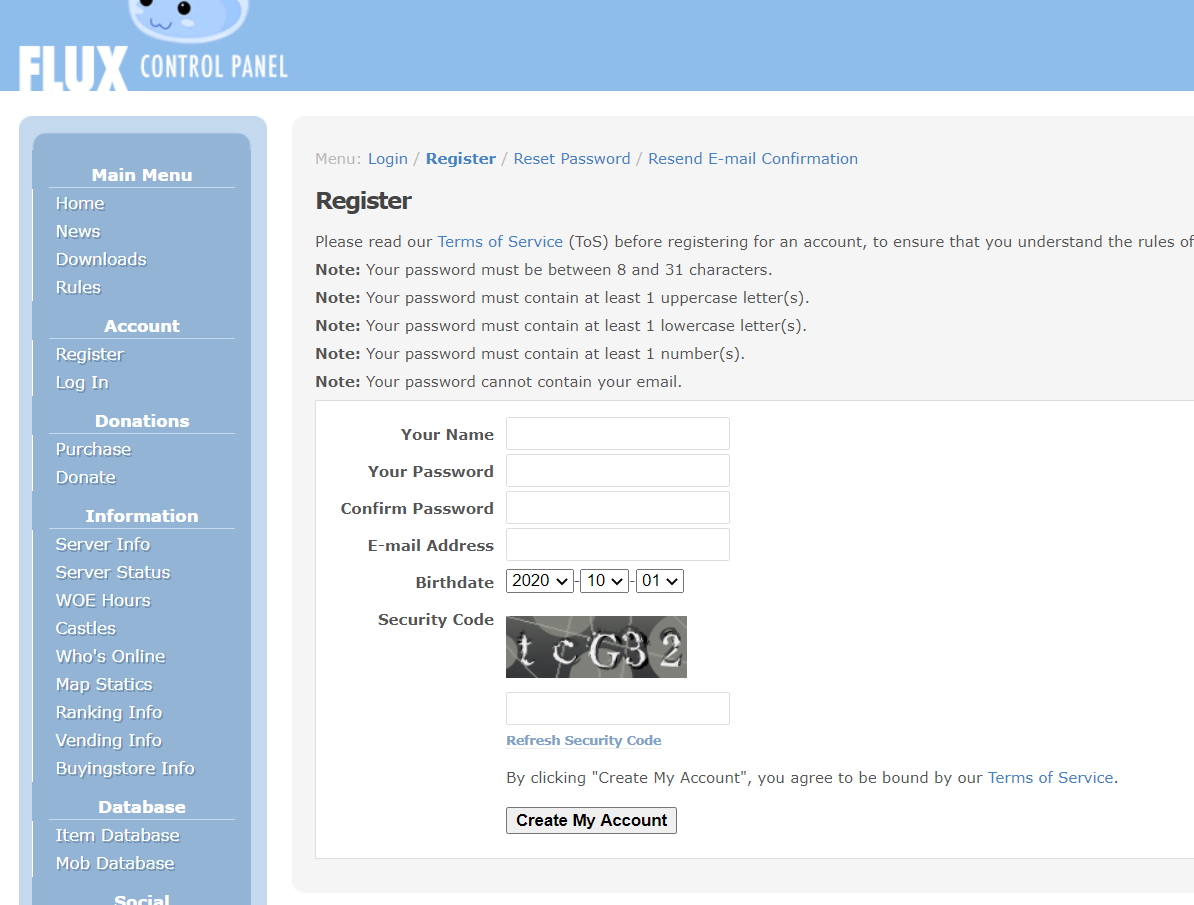
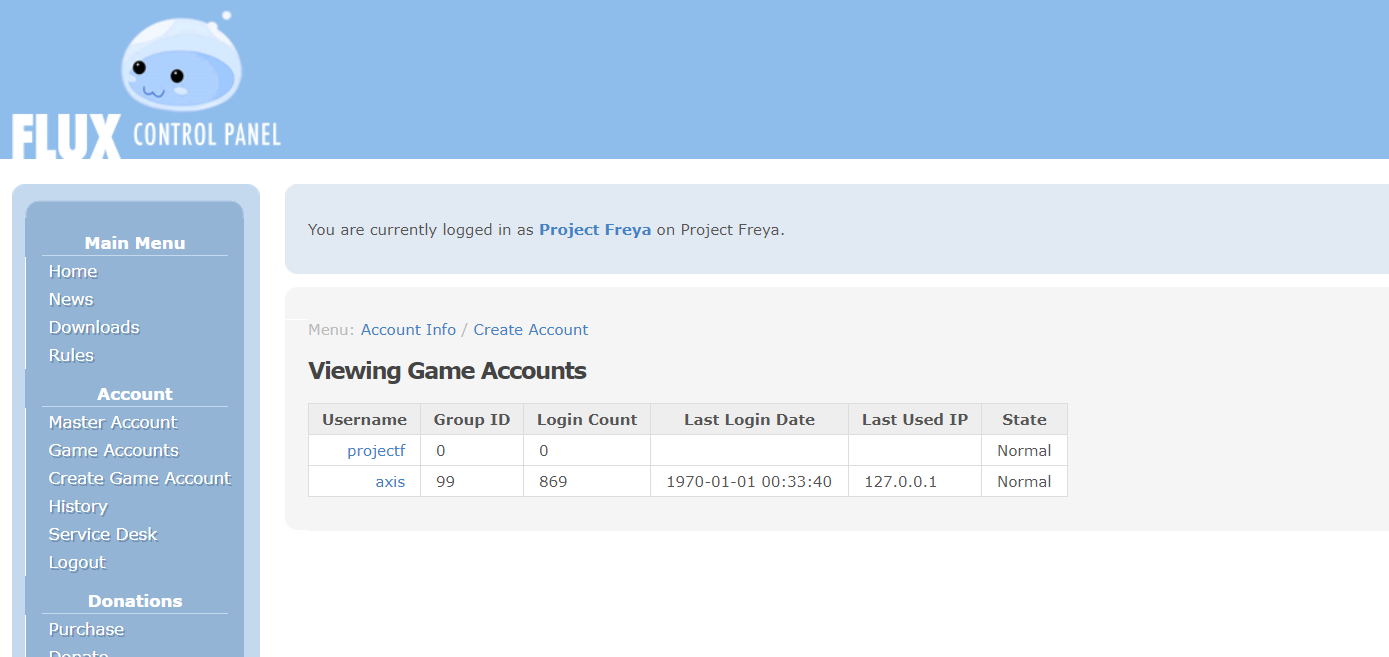
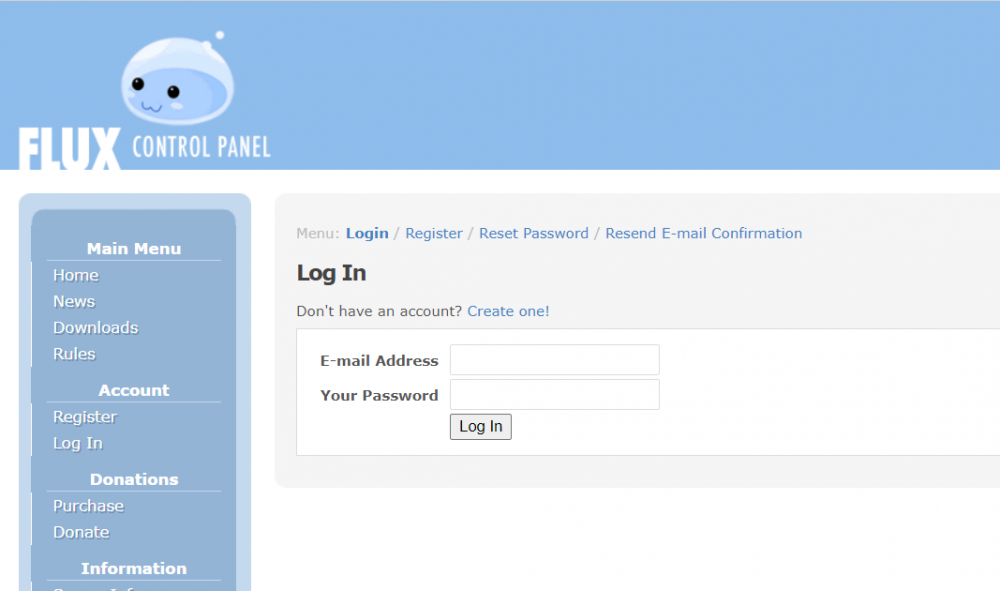
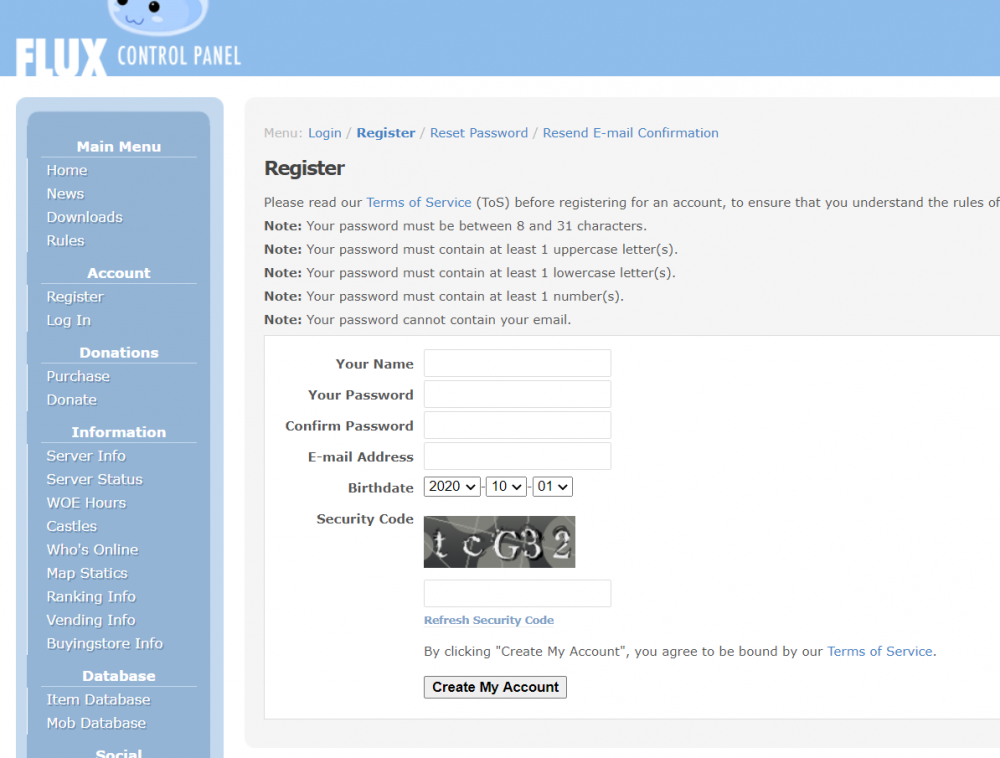
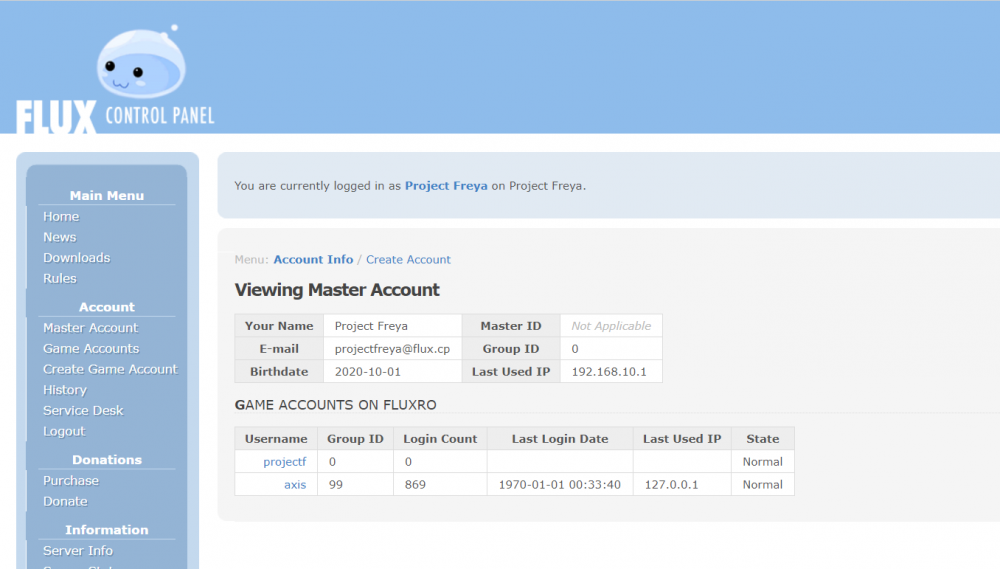
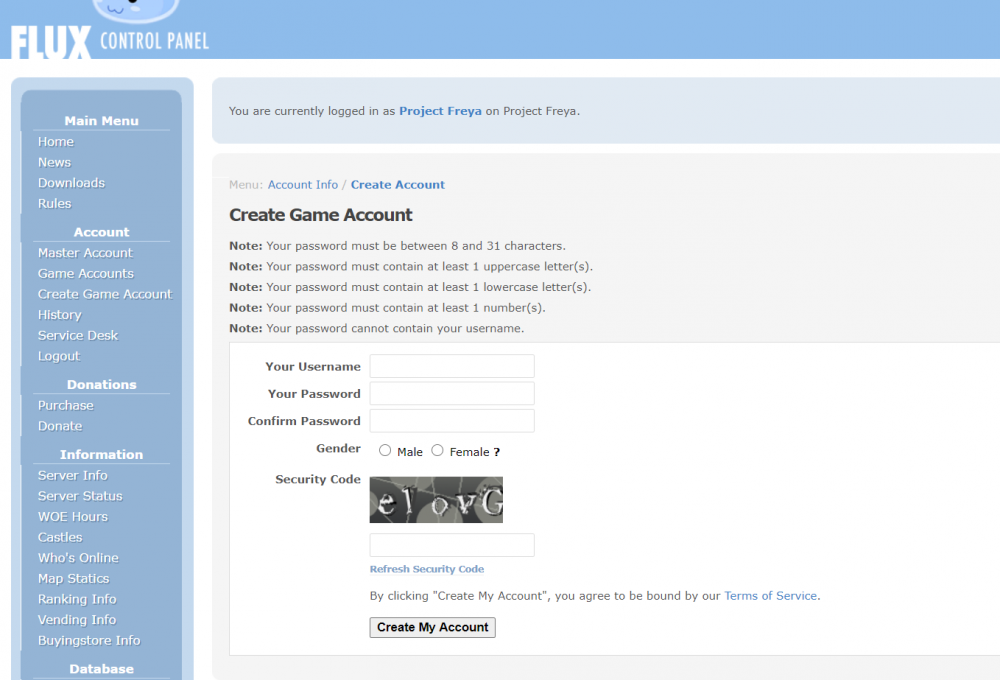
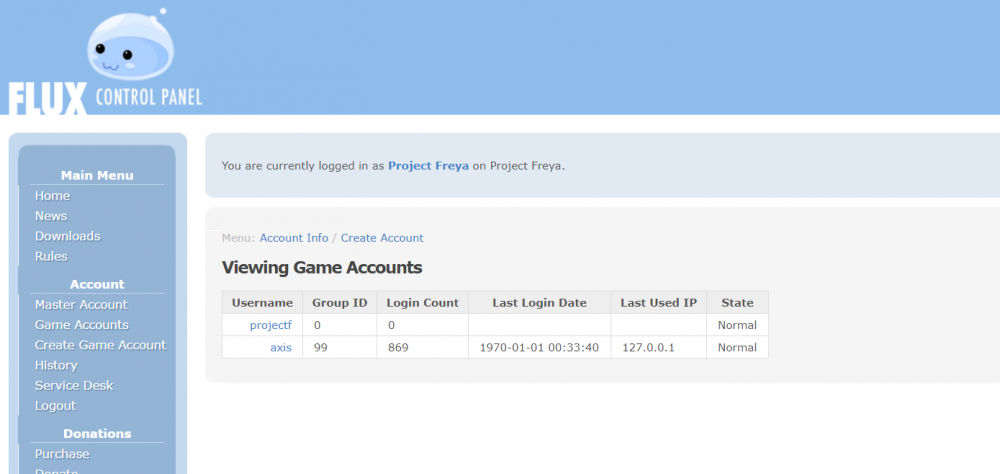
FluxCP with Master Account Integration Hi everyone! I want to share my Simple FluxCP with master account. I've been coding this for the last 2 days using my free time. I have seen a lot of people asking for FluxCP with Master account so I decided to share this. Originally I was planning to do this via addons but there are too many things needed to change. Please take note that this is version 1.0 so if you found any bugs please open an issue on github. I will also release next time the master account integrated with phpBB. Repository: https://github.com/acelabini/FluxCP-MasterAccount Clone: https://github.com/acelabini/FluxCP-MasterAccount.git Download: https://github.com/acelabini/FluxCP-MasterAccount/archive/master.zip How to install? Just clone or download the repository and follow this installation guide written by @Zack- Configuration Edit `config/application.php` 'MasterAccount' => true, // Enable master account feature, setting this to false will revert back to normal fluxCP 'MasterAccountPasswordHash' => 'bcrypt', // Master account password hashing algorithm, atm only bcrypt is available 'MasterAccountMaxAccounts' => 0, // Maximum game account per master account; 0 to disable If you have any question, feel free to post it here. Helpful? Buy me a coffee

 1 point
 -
Some peoples had asked me for this guide, so I thought it was a good idea to post here. I'm not a pro on things like this so maybe I'll not can help you, btw you can suggest to this guide very helpful informations, I'll be grateful for you. Introduction I'll teach you guys how to setup a rAthena Server in a Virtual Machine (VM) for training VPS before buying one and enable connection to another peoples for co-working or something using VirtualBox and CentOS 7 as Operating System (OS) for it. VirtualBox is widely used to perform this tasks because is secured, UI-friendly and very easy to configure. Prerequisites Windows XP SP3 or later VirtualBox Latest Version (or VMware) CentOS 7 minimal ISO PuTTY (or any similar software) FileZilla (or any similar software) (Optionals) No-IP DDNS and DUC Notepad++ Requirements Static IP (Host and Guest) Port Forwarding (22 for SSH, 80 for HTTP, FluxCP, phpMyAdmin and 6900, 6121, 5121 for the server) If you want, you can use another port different than 80 for HTTP for security reasons, but I'll not teach you how to do that. Warnings If you don't have any knowledgement in port forwarding or how port forwarding can be very risky, I really don't recommend this guide for you. I'm not liable for any damages in your PC or Network, make this by your own risk. If you want to not port forwarding and use this guide only for use the server in a VM only for you, it's okay, you just need to open ports on your Host-machine Firewall instead port forwarding, but you'll not able to open the server for another peoples. Creating the VM and Installing the CentOS 7 1. Open the VirtualBox and click in New or use Ctrl + N. 2. Enter the name and switch Type to Linux and Version to Red Hat (64-bit) and click in Next. 3. Set 1024 for the amount of memory (RAM) in megabytes to be allocted to the virtual machine and click next. 4. Select Create a virtual hard disk now and click in create and next. 5. Select Fixed size and click in next. 6. Set the size for the virtual hard disk in gigabytes. I'll set 20,00GB but you can put a different valor (minimum 5,00GB) and click in Create. 7. Click in Settings and go to Storage, click on the Empty below Controller: IDE and click on the small CD icon and click in Choose Virtual Optical Disk File... and select the CentOS 7 ISO file. 8. Go to Network and change NAT to Bridged Adapter and press the OK button. 9. Start your VM by pressing the Start button. 10. In the VM, choose Install CentOS Linux 7 option and press enter. 11. Choose your language and click and next. 12. On Localization configure your date and time by clicking in the Date & Time button and next you configure your keyboard by clicking in the Keyboard button. 13. Go to System and click in Installation Destination and just click in Done. 14. Click on Network & Host Name and click in the Off button to turn On. Now click in the Configure... button and go to IPv4 Settings, switch Automatic (DHCP) to Manual and click in Add. In Address you put the LAN IP that you want (normally is something like that: 192.168.xx.xx), in Netmask put 255.255.255.0 and in Gateway you put your Router Gateway (192.168.xx.xx) and click in Save. In Host name you can change to whatever you want, but add ".localhost" in the end like 'server.localhost' and click in Apply and next in Done. 15. Click on Begin Installation and next you set the root password by clicking on the button Root Password(don't forget that password, its very important) and wait the installation be done. After that just click in Reboot. 16. After the reboot you'll see anything like that: Just type root for Login and root password for Password. 17. After that type yum -y update and press Enter and wait the update finish. 18. Now create a new user non-root: Pick a different number from 4444. # useradd --create-home --shell /bin/bash rathena4444 # passwd rathena4444 Configuring the VM via Terminal using PuTTY. I recommend to use PuTTY because you can scroll up and down the terminal without having to install Gnome GUI on the VM and it's a good training before buying a VPS. 1. Connect to your VM on the PuTTY by typing the Guest Machine IP and the port that you have forwarded, then type root and root password. 2. Now type the following commands: # yum -y install centos-release-scl # yum -y install devtoolset-4-gcc-c++ # yum -y install make mysql mysql-devel mariadb-server pcre-devel zlib-devel git # systemctl start mariadb.service Optional, it will make this start for every system boot. # systemctl enable mariadb.service Run this command and follow the prompts: # mysql_secure_installation Login to your MariaDB Server as root: When prompted, enter your root MySQL password. # mysql -u root -p Now your prompt should look like this (the MariaDB command prompt): MariaDB [(none)]> 3. At the MySQL prompt, type this to create a database (replace rathena4444 with the Linux username you created earlier): MariaDB [(none)]> CREATE DATABASE rathena4444_rag; Create a separate database for logs: MariaDB [(none)]> CREATE DATABASE rathena4444_log; 4. Create a MySQL user for rAthena and grant privileges. MariaDB [(none)]> CREATE USER 'rathena4444'@'localhost' IDENTIFIED BY 'secretpassword'; MariaDB [(none)]> GRANT SELECT,INSERT,UPDATE,DELETE ON rathena4444_rag.* TO 'rathena4444'@'localhost'; MariaDB [(none)]> GRANT SELECT,INSERT ON rathena4444_log.* TO 'rathena4444'@'localhost'; Type 'exit' to close the MariaDB prompt. 5. Now we will open ports on the VM Firewall for accept the clients. Type the following commands: # firewall-cmd --zone=public --add-port=6900/tcp # firewall-cmd --zone=public --add-port=6121/tcp # firewall-cmd --zone=public --add-port=5121/tcp # firewall-cmd --reload If you want to enable this on all system boot startup just add --permanent on the final like that: # firewall-cmd --zone=public --add-port=6900/tcp --permanent 6. Installing and configuring phpMyAdmin for FluxCP and MySQL tables (you can skip that if you will use only MySQL Workbench) Remembering: I REALLY DON'T RECOMMEND YOU TO OPEN PORT 80 IF YOU DON'T HAVE ANY KNOWLEDGEMENT IN PORT FORWARDING. # firewall-cmd --zone=public --add-port=80/tcp # firewall-cmd --reload Step 1: # rpm -iUvh http://dl.fedoraproject.org/pub/epel/epel-release-latest-7.noarch.rpm Step 2: # yum -y update # yum -y install httpd php phpmyadmin Step 3: Open the FileZilla and login on your VM. Now go to /etc/httpd/conf.d/ and open the phpMyAdmin.conf using Notepad++ and modify this: Alias /phpMyAdmin /usr/share/phpMyAdmin Alias /phpmyadmin /usr/share/phpMyAdmin <Directory /usr/share/phpMyAdmin/> AddDefaultCharset UTF-8 <IfModule mod_authz_core.c> # Apache 2.4 <RequireAny> Require ip 127.0.0.1 Require ip ::1 </RequireAny> </IfModule> <IfModule !mod_authz_core.c> # Apache 2.2 Order Deny,Allow Deny from All Allow from 127.0.0.1 Allow from ::1 </IfModule> </Directory> To this: Alias /phpMyAdmin /usr/share/phpMyAdmin Alias /phpmyadmin /usr/share/phpMyAdmin #<Directory /usr/share/phpMyAdmin/> # <IfModule mod_authz_core.c> # # Apache 2.4 # <RequireAny> # Require ip 127.0.0.1 # Require ip ::1 # </RequireAny> # </IfModule> # <IfModule !mod_authz_core.c> # # Apache 2.2 # Order Deny,Allow # Deny from All # Allow from 127.0.0.1 # Allow from ::1 # </IfModule> #</Directory> <Directory /usr/share/phpMyAdmin/> Options none AllowOverride Limit Require all granted </Directory> Save and return to FileZilla, a little popup will be show, just click Yes. Back to PuTTY terminal and type the following commands: # systemctl start httpd Optional, it will make this start for every system boot. # systemctl enable httpd Now open your browser and put your IP or your No-IP DDNS with /phpmyadmin like that: "250.251.252.253/phpmyadmin" or "myragnaroknoip.ddns.net/phpmyadmin" to have access to it. 7. Logout from root SSH (or minimize the window) and login as your non-root Linux user that you created earlier. 8. Clone the rAthena repository: # git clone https://github.com/rathena/rathena.git ~/rAthena 9. Import MySQL tables Step 1: Change directory to the "sql-files" folder. # cd rAthena/sql-files/ Step 2: # mysql -u root -p rathena4444_rag < main.sql # mysql -u root -p rathena4444_rag < item_db.sql # mysql -u root -p rathena4444_rag < item_db2.sql # mysql -u root -p rathena4444_rag < mob_db.sql # mysql -u root -p rathena4444_rag < mob_db2.sql # mysql -u root -p rathena4444_log < logs.sql 10. Configure the server by editting the files using FileZilla + Notepad++ (Normally the rAthena server folder is inside the non-root user folder (/home/rathena4444).) 11. Compile the source code Step 1: # cd .. # scl enable devtoolset-4 bash # ./configure Step 2: # make server How to Recompile: # ./configure # make clean # make server 12. Start your rAthena server. This will start the rAthena Server: # ./athena-start start To stop the server just use: # ./athena-start stop You can restart your server if is already running # ./athena-start restart Links that I have used for make this guide (Special Credits): https://github.com/rathena/rathena/wiki/Install-on-Centos https://www.liquidweb.com/kb/how-to-install-and-configure-phpmyadmin-on-centos-7/1 point
-
Try to change this value input .BonusItem,0,32767;1 point
-
Well not anymore, added the previous client files to the others as well1 point
-
@FePa Use any another version not beta1 point