TBlazeWarriorT
-
Posts
17 -
Joined
-
Last visited
-
Days Won
5
Content Type
Profiles
Forums
Downloads
Jobs Available
Server Database
Third-Party Services
Top Guides
Store
Everything posted by TBlazeWarriorT
-
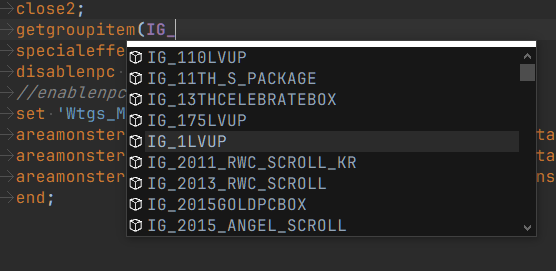
Ah, and before I forget, there's also another two files to configure card prefixes and suffixes, if you also need them. Those use the card IDs.
-
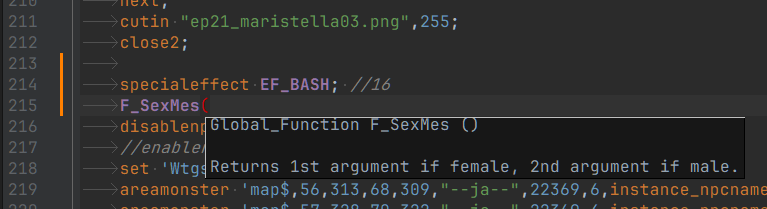
 Link: https://github.com/TBlazeWarriorT/TBlazeWarriorT-Utility-Scripts/tree/main/NP%2B%2B rAthena Autocomplete Screenshots:
-
Cool stuff, I make an almost identical thing a few weeks ago to translate mine
-
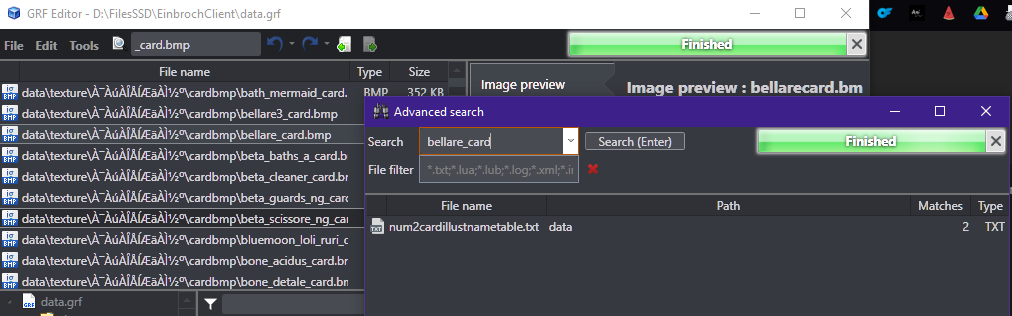
It's this one Additionally, picking a random, specific card and just searching for it on GRF Editor Advanced search would have made it very obvious where it's referenced, as a tip for the future so you don't have to rely on tutorials since Ragnarok is not a documented game. (ignore my bookmarks that leaked at the background of the screenshot ( ͡° ͜ʖ ͡°) )


-
rAthena Text Editor (Offline, Browser-Based)
TBlazeWarriorT replied to Jinun's topic in Project Releases
Suggestions: - Make it also available as a GitHub page. If you have a slot for it, it'd be great to have it just be available online too on your github.io. - Button to save as .cpp in one click (I prefer it over .txt, works the same but has highlighting, I know I can manually change but :effort:) - Button to Copy All (in case we want to copy paste our file contents instead of downloading) - Allow drag and drop to Open File - Autocomplete (could be hard to implement, but would be huge help if it used script_commands to autocomplete and offer help, like displaying "*message "<character name>","<message>";" when you type "mess...") I find it cool, I had to setup my Notepad++ to not bug out with rAthena syntax so I'm sticking with it for now, but if it gets a few more features it could end up being worth over NP++, good work -
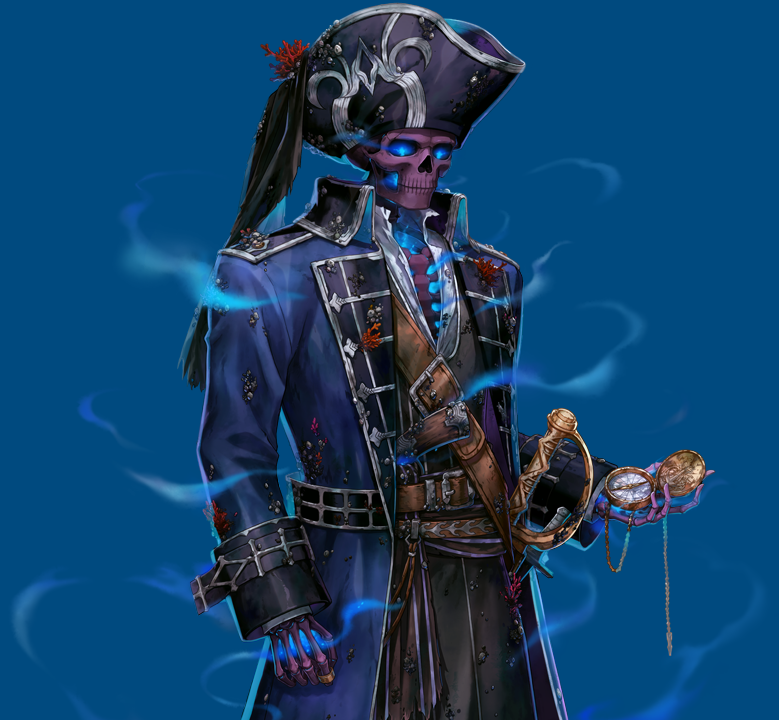
View File [Custom Instance] Alfheim Tower (solo, 80+ floors, custom map, customizable, permanent progression) A fully custom one-time per-char 80+ Floor solo tower instance inspired by ROO. Made by TBlazeWarriorT INCLUDED: - Script - Setup Guide - instance_db - Custom Map/Minimap file - Custom Cutins - (Optional, plain text): custom item templates (item db and item info), viewpointtable template NOT INCLUDED: [!] mob_db for mobs used in the example/default configuration are NOT included by default with this pack. For this reason, default floor is limited to 80 instead of 130, until configured otherwise. Mob/item sprites are also not included. These are part of the base game. DEMO: - Setup Guide (same as the one in the full version) - Script Demo (parts of the original script so you know what you're getting) Contact: E-mail: [email protected] Discord: tblazewarriort alfheim_tower_demo.zip Submitter TBlazeWarriorT Submitted 04/23/25 Category Games, Events, Quests Video http://www.youtube.com/watch?v=rXoSQcFJC_o Content Author TBlazeWarriorT
-
Thank you too, I used your RO folder as reference to find the skin files and etc feel free to include it in the folder if you ever feel like
-
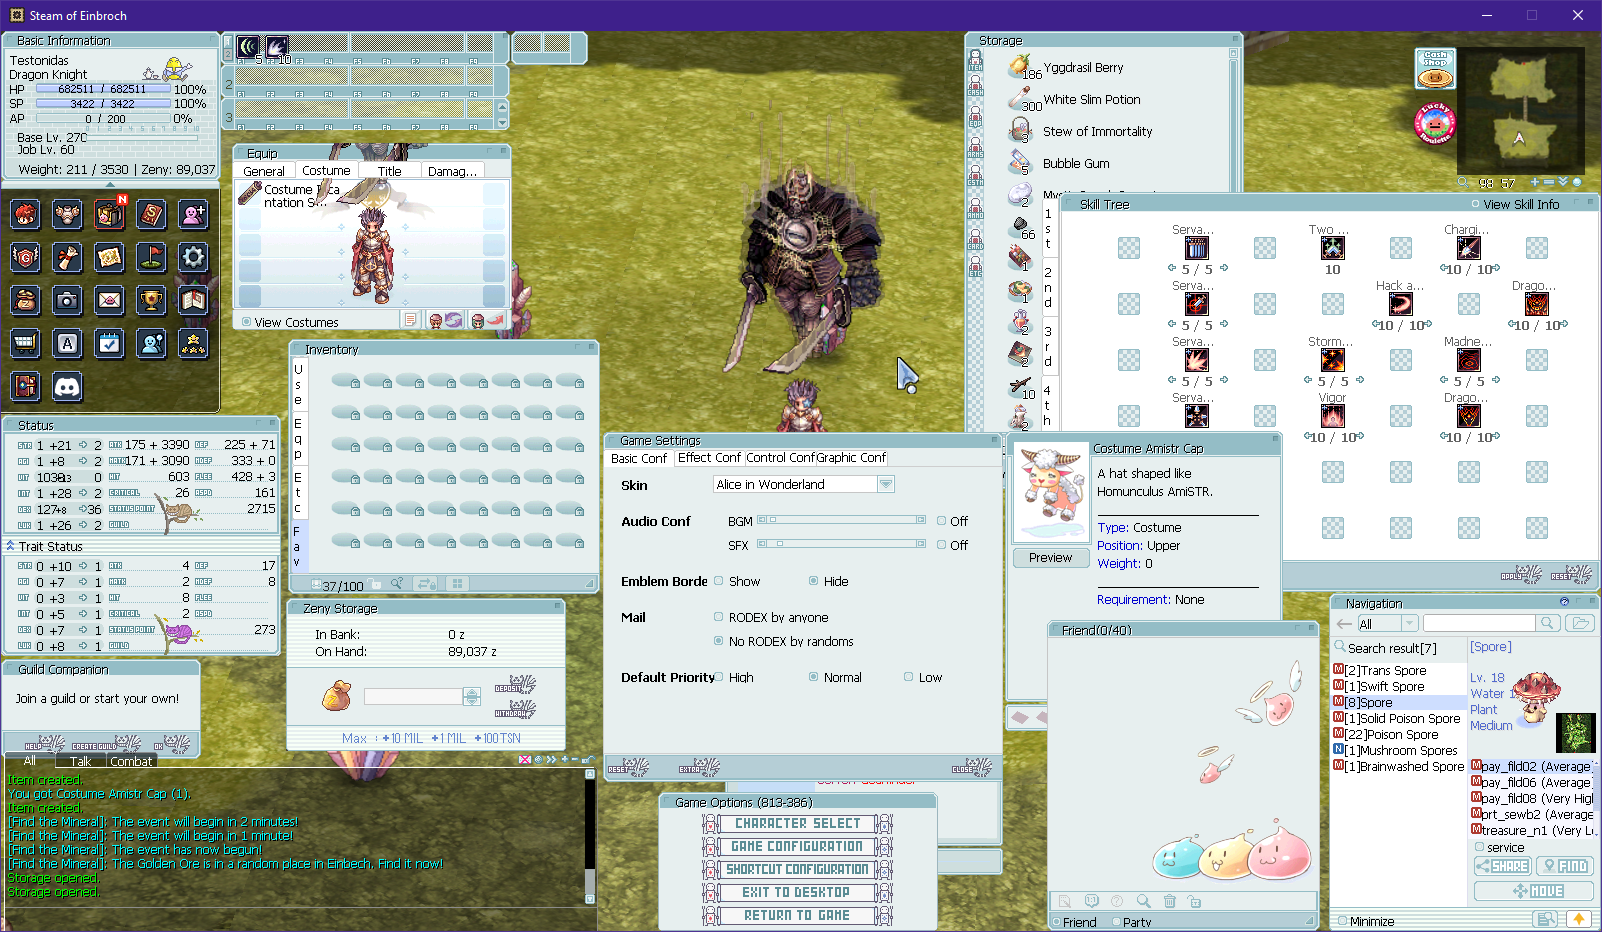
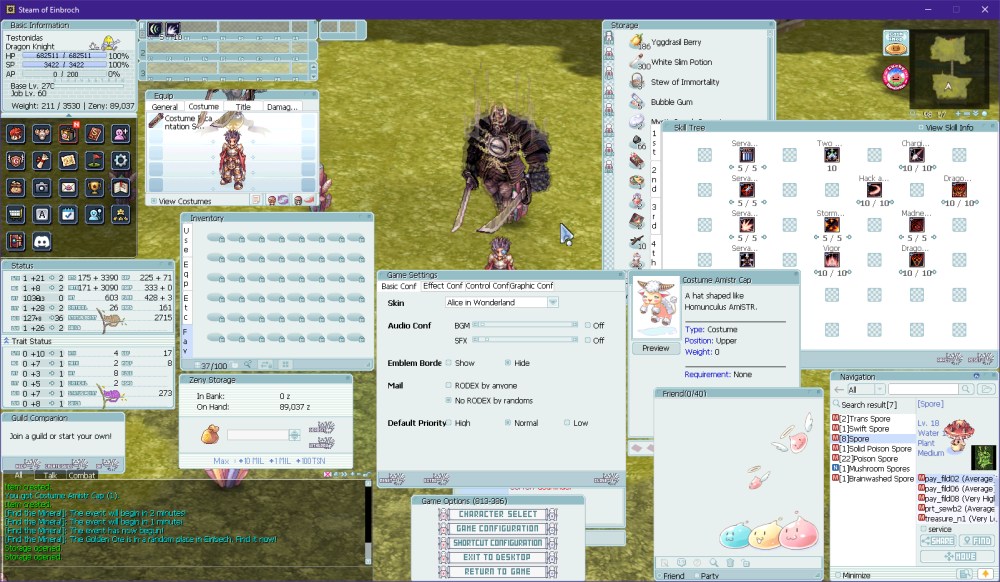
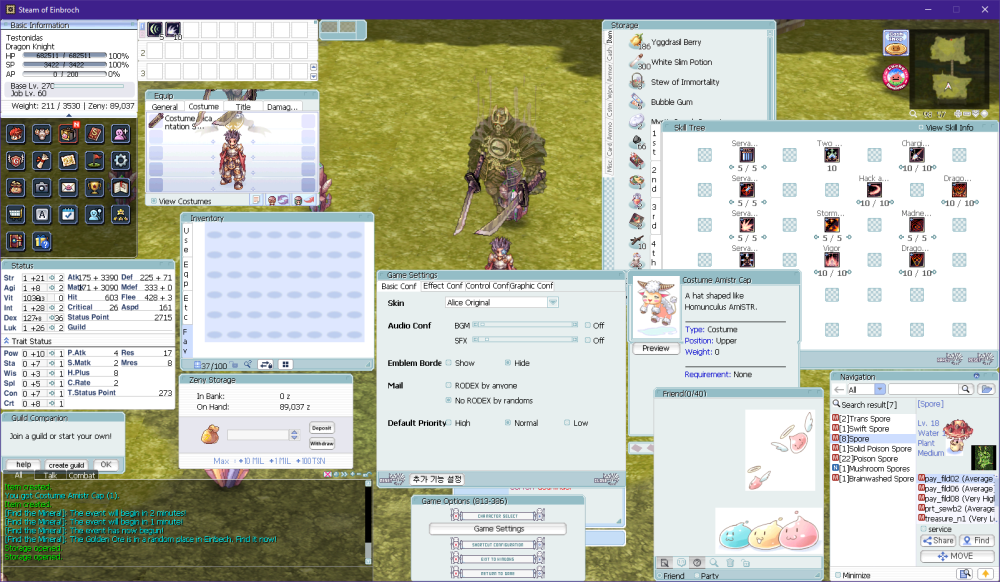
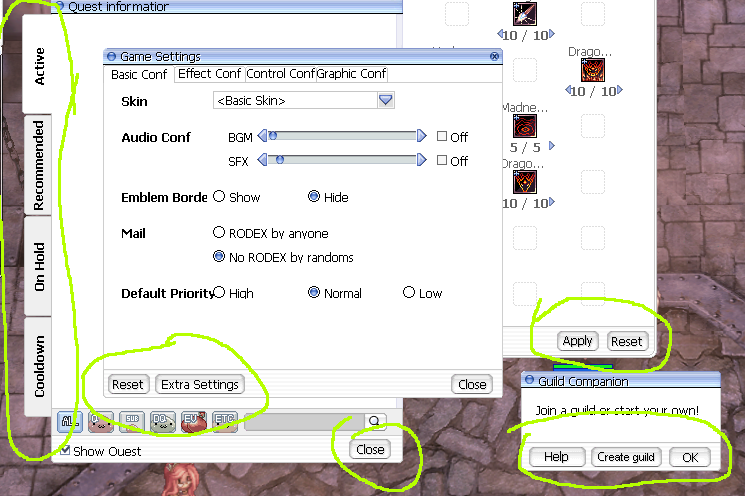
Alice in Wonderland skin (unknown author) fanmade update to fix existing textures and add missing ones including 4th job related UI and renewal menus. iRO's version of the skin (outdated, for reference): Notable new features: - 4th job Basic Information (3 remade bars) - Trait Status background - Locked favorite inventory texture - Fixed all* transparency errors and missing textures Can't fix: - Quest UI (default texture can be improved with this), Rodex, Attendance, Adventure Guide Costume Preview window (these can only be changed via data/GRF, currently broken via skin) - Tab textures (Use, Equip, Etc, Fav, Basic Settings, others): Hardcoded on modern clients (if you know of a patch to change this, let me know) 08/05/2025: Hotfixed Trait window text and updated item comparison Alice in Wonderland.zip
-
After the fixes: Before (for reference): There's ~72 images in the current zip for ~20 buttons. The buttons are not perfect but more consistent than the original ones, that had random *** spacing, font size, and shadows. Installation: add to Data or GRF (can technically be used on a skin, but Quest UI seems to only be modifiable via data/GRF) data.zip

- 1 reply
-
- 4
-

-

-

-

-
![More information about "[Custom Instance] Alfheim Tower (solo, 80+ floors, custom map, customizable, permanent progression)"](https://rathena.org/board/screenshots/monthly_2025_04/alfheim_screenshot.thumb.png.8c44e2984aaa6c9cab5c4474102b4ce8.png)
Version 1.00
1 download
A fully custom one-time per-char 80+ Floor solo tower instance inspired by ROO. Made by TBlazeWarriorT INCLUDED: - Script - Setup Guide - instance_db - Custom Map/Minimap file - Custom Cutins - (Optional, plain text): custom item templates (item db and item info), viewpointtable template NOT INCLUDED: [!] mob_db for mobs used in the example/default configuration are NOT included by default with this pack. For this reason, default floor is limited to 80 instead of 130, until configured otherwise. Mob/item sprites are also not included. These are part of the base game. DEMO: - Setup Guide (same as the one in the full version) - Script Demo (parts of the original script so you know what you're getting) Contact: E-mail: [email protected] Discord: tblazewarriort alfheim_tower_demo.zip100.00 USD -
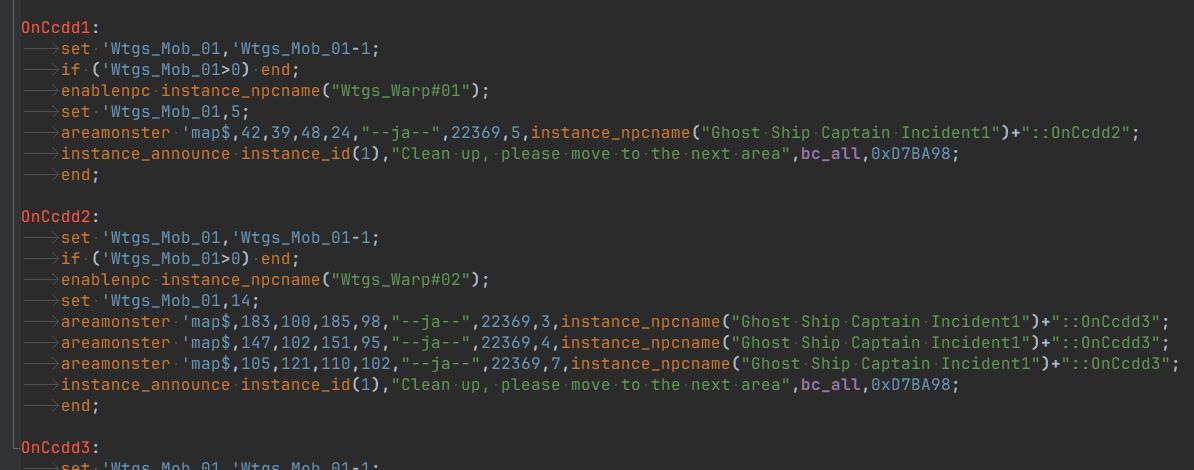
(script commands) OnPCSkillUseEvent + getskillname
TBlazeWarriorT replied to Ninja's topic in Source Releases
Here's my suggested code for clif_parse_UseSkillToPosSub. // SKILLUSE MODIFIED CODE int32 skill_success; int32 skill_src_type = 1; if( sd.skillitem == skill_id ) { if( skill_lv != sd.skillitemlv ) skill_lv = sd.skillitemlv; skill_success = unit_skilluse_pos(&sd.bl, x, y, skill_id, skill_lv); skill_src_type = 2; } else { int32 lv; sd.skillitem = sd.skillitemlv = 0; if( (lv = pc_checkskill(&sd, skill_id)) > 0 ) { if( skill_lv > lv ) skill_lv = lv; skill_success = unit_skilluse_pos(&sd.bl, x, y, skill_id,skill_lv); } } if (skill_success == 1) { pc_setreg(&sd, add_str("@skillused_id"), skill_id); pc_setreg(&sd, add_str("@skillused_lv"), skill_lv); pc_setreg(&sd, add_str("@skillused_src"), skill_src_type); npc_script_event(sd, NPCE_SKILLUSE); } // I'll likely be using this or something similar for myself. I even added @skillused_src to know if it was used through an item, since I needed that for my use case. If you don't need it, you can save a few lines. Note that the single target skill code needs to be changed similarly, it uses a more annoying format but the logic is the same. Also to be noted that the single-target code was moved to clif_parse_skill_toid, it seems. Example with this: announce "You have used level "+@skillused_lv+" skill "+@skillused_id+" via "+@skillused_src,bc_self; -
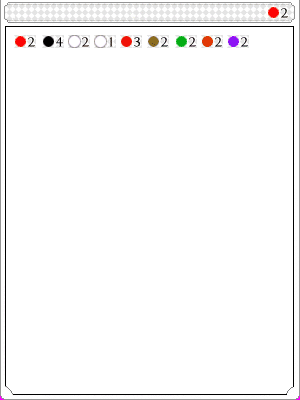
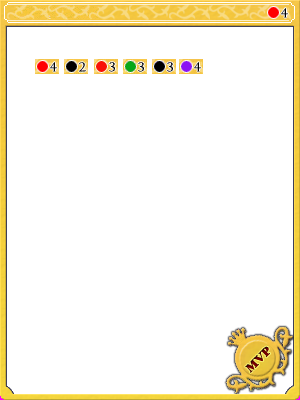
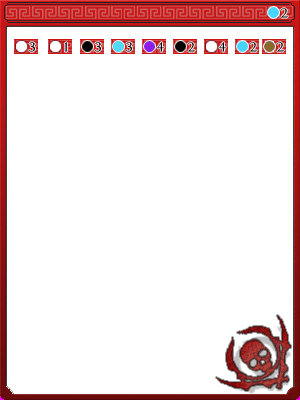
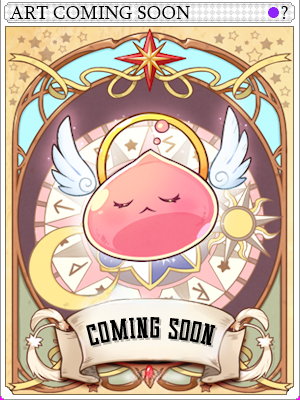
I didn't find this available anywhere I spent about an hour doing semi-complex algorithms to compare similar and median pixel colors in several of the newer card bmps that have slightly higher quality, and then manually tweaking them to have a clear top to write text and have clean PNGs to base my cards off of. To make the title: I recommend "Sylfaen" font, size 14, all uppercase, with a 1px white outline and 192 opacity. On Paint.net, I use "Sharp (Modern)" text rendering mode with Anti-Aliasing on. It's not identical to the real card title font which is unknown, but it's almost impossible to notice the difference. To make the number at the top right: copy it from an existing card.
-
- 1
-
-
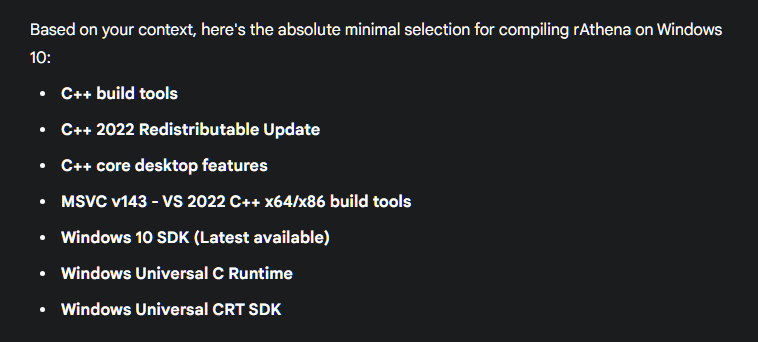
Still works in 2025, thanks 2 important tips: You can toggle debug mode with this (top line is debug, commented. Bottom line is no debug, server boots 10x faster!) ::MSbuild.exe %SolutionPath% /p:PlatformToolset=v143 /m MSbuild.exe %SolutionPath% /p:PlatformToolset=v143 /p:Configuration=Release /m Also, some of the VS Code Setup components have been updated or renamed, here's more or less the ones I used, I don't think anything else is required:
-
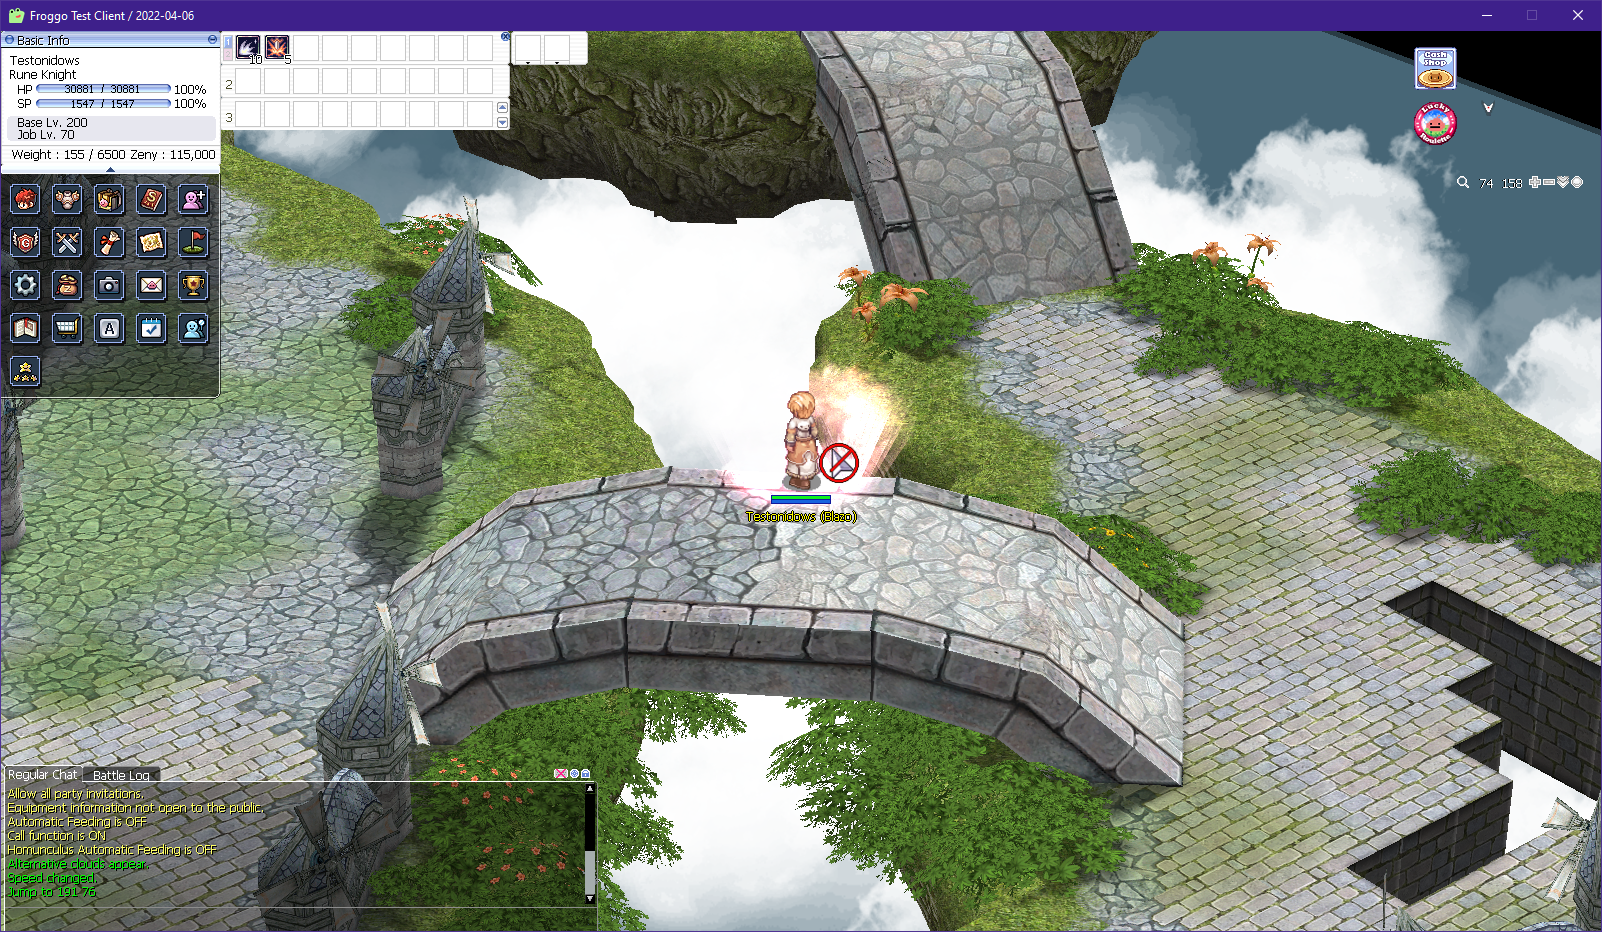
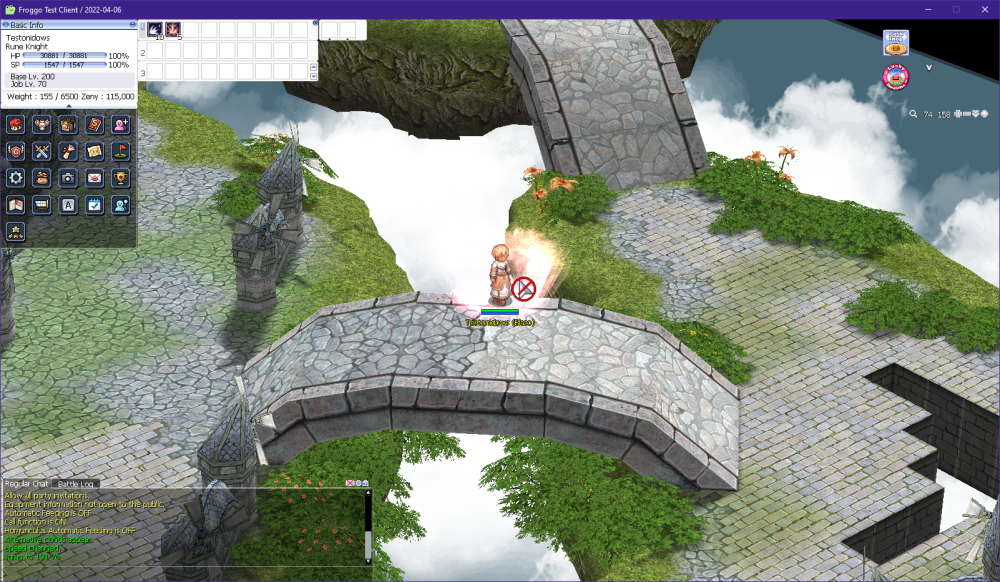
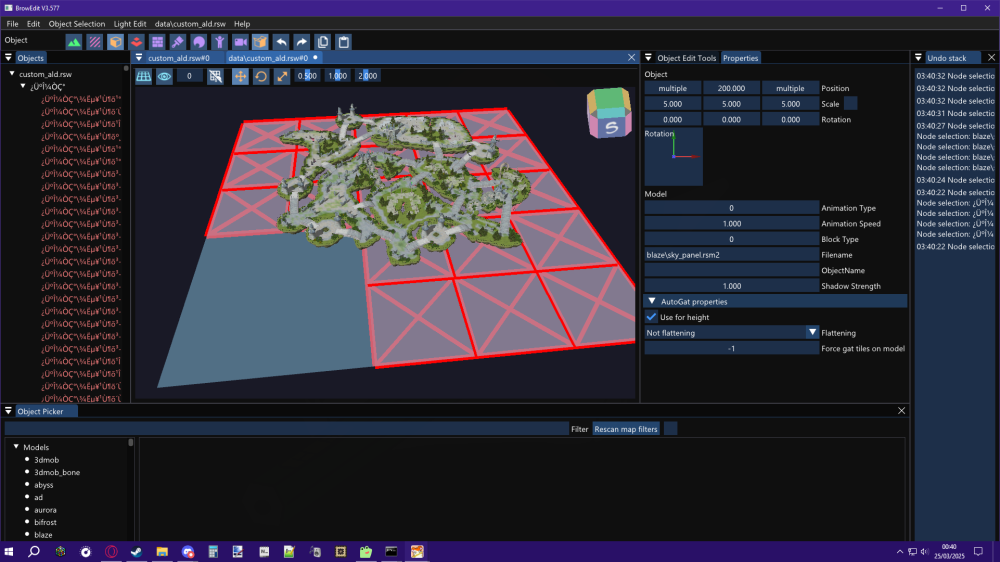
BIG EDIT: If your client supports it (~2022+), just use data\luafiles514\lua files\mapskydata. I found out about this a bit too late, but better late than never. So, here's the basic concept of how to make RGB skyboxes that don't rely on hardcoded skyboxes. I don't see enough people talking about it, so I decided to bring the concept up, as I just did it for two of my custom maps. You can have flat 3D models ~200 units under the main map with a texture, tiled to form a large square, and they'll effectively work as a customizable skybox, going alongside with "clouds2" (or "clouds") mapflag. Pros: Can use any texture/color Can be animated (in theory) Customizable Can be used in any map Not hardcoded/doesn't need to replace any map or skybox Cons: Horizontal camera angles might expose black edges Minor effort editing the map to add the new models Tips: Works well with clouds2 mapflag greywolf/illusion water rsm models are a good base for this, if you don't know how to make a custom model. You will need to change the bottom square texture to be invisible (or the upper one to be opaque), and preferably hex the path to be a new texture so you don't have to replace their textures. Don't use Scale over 5 on the model size (e.g. in Browedit). The tiles will stop rendering properly in some angles if they're too big. Usually a 5x5 grid of 5 Scale models of retextured "ilusion" water at y=200 is enough and produces some of the best results. It's what was used on the images below: I intentionally exposed a small black corner on the image to show it. 90% of the time or if you lock the camera, you can't see the black corners, though.
-
Bonus: custom art for 'data\texture\À¯ÀúÀÎÅÍÆäÀ̽º\cardbmp\sorry.bmp' made by me (by modifying other assets) sorry.bmp
- 1 reply
-
- 4
-
-
-
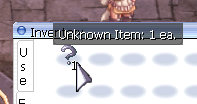
This will replace the apple sprite on missing items with a question mark based on the question mark emotion sprite. Also includes a bigger version of the question mark texture made by me. To setup this: 1: Replace the apple's '»ç°ú' ACT, SPR and BMP sprites in the data with the ones inside 'data.zip' from this post 2: Add and reference the new 'apple_' textures from 'data.zip' in your itemInfo (so that the apples use the pseudo-custom apple texture instead of also using the '?') Result: Apples still look like Apples. Unknown Items look like a question mark. Less confusion, easier to spot and report! Includes: - »ç°ú.act / spr / bmp - apple_.act / spr / bmp - Partial 'itemInfo' template data.zipunknown.lua
- 1 reply
-
- 7
-
-
-
-
bonus3 bAddEle,Ele_All,x,BF_NORMAL; This is a not so obvious but clever way to increase only normal attack damage through item bonus or player scripts. I was worried I would need to change the source since I didn't find this anywhere, so I assume not many people know about this, and felt like sharing. I had to dig through all ideas and item bonuses to find this hidden gem. This specific use of bAddEle manages to increase all normal attack damage by X against all enemies without affecting skill damage. Explanation: From the documentation, "bonus3 bAddEle,e,x,bf; +x% physical damage against element e with trigger criteria bf", so this was meant to increase damage against specific element enemies. This is the only damage increase with a bf criteria in rAthena's documentation, so this had to be used. So a friend and I thought of only triggering on Normal Attacks, and using Ele_All to affect all enemies, giving us the equivalent of something like a "bAddNormal" that rAthena doesn't have.
- 1 reply
-
- 3
-
-